1-4-4 from the main menu
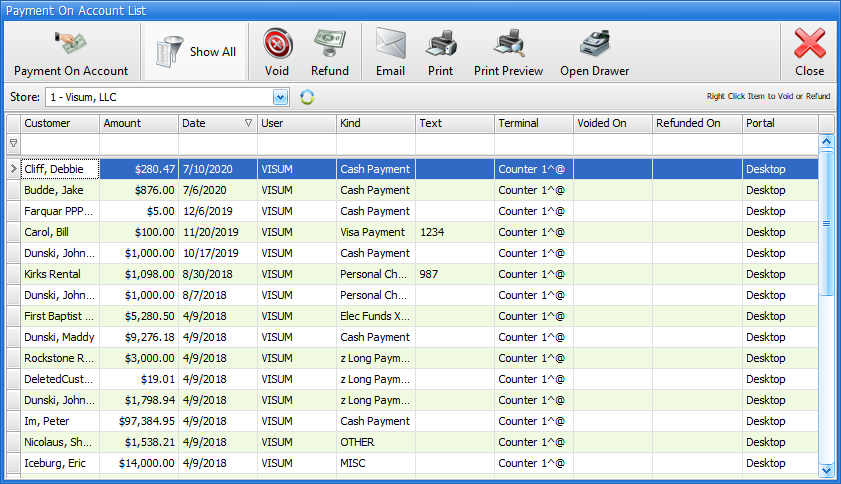
Use this function to receive payments for outstanding invoices. To receive a payment, click on Payment On Account.
Use the Void and Refund buttons to remove or correct erroneous payments. When using the front counter pay on account functionality, note the following rules about voiding and refunding:
•Payments on Account made TODAY may only be VOIDED.
•Payments on Account made PRIOR TO TODAY may only be REFUNDED.
By default, the list screen will show any recent payments received. Clicking on “Show All“ will show payments.
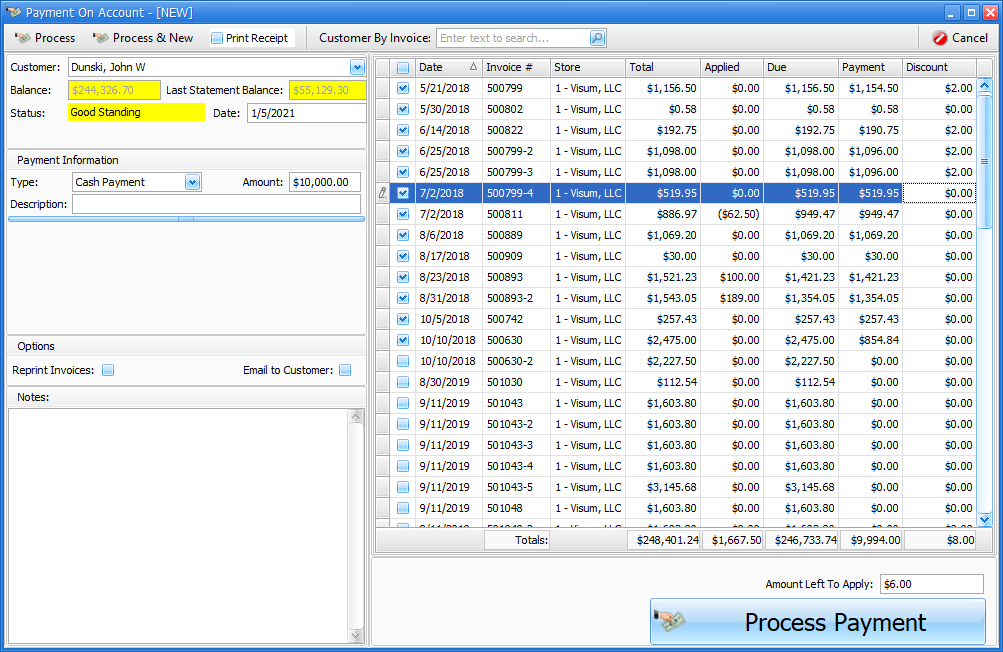
To process a payment on account, click on the Pay Account button.
1.Begin typing the customer name or use the drop down arrow to select a customer.
2.In the Payment Information area, select a payment type or select from any credit cards on file.
3.Fill in the amount of the payment and any other necessary information in the Payment Information area.
4.In the right section, you will see a list of invoices that are unpaid. Either check the checkbox next to each invoice that will be paid with the payment, or click on the check box directly to the left of the list’s “Date” heading to select all invoices. You may also discount the payment by changing the values in the Payment and Discount columns.*
5.The “Process Payment” button in the lower right and upper left corner of the screen perform the same task.
6.Clicking either of these buttons will process the payment and return you to the prior screen
7.The “Process Payment & New” button will process the payment and keep you on the same screen so that you can process another payment.
Miscellaneous Pay In and Pay Out (1-4-4 and 1-4-5 from the main menu), also accessible from 1-4-6 from the main menu
These functions use the same screen as the Payment on Account screen. But, not all of the POA
fields are available when making Misc Pay In’s or Misc Pay Out’s. Follow the Payment on Account instructions above for
either of these functions, skipping over the unavailable fields.
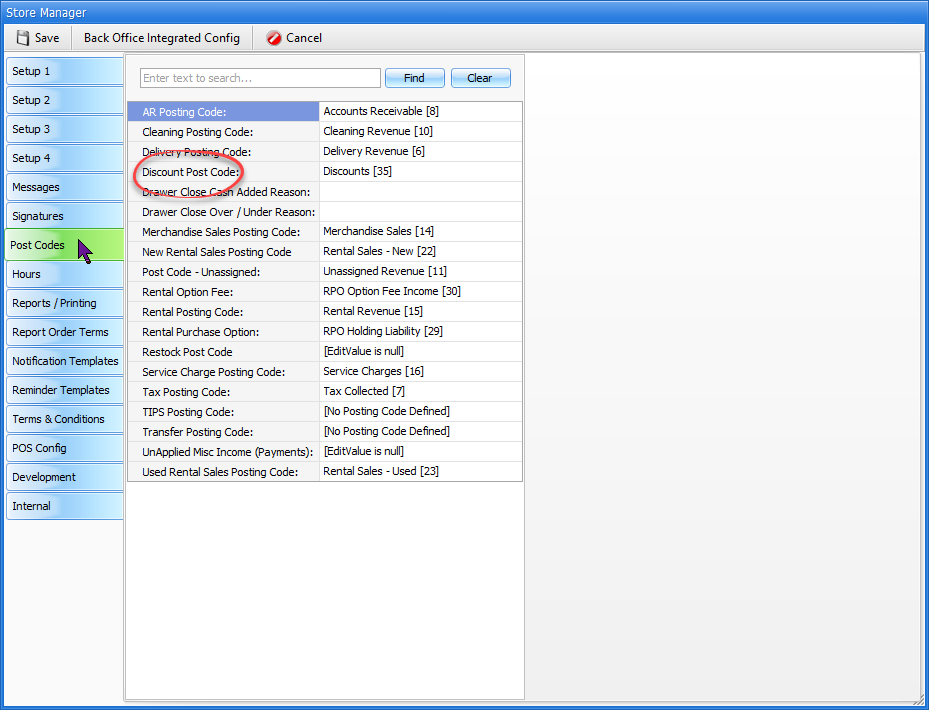
*A discount posting code must be set up (2-C from the main menu) and assigned to the Discount Post Code field in the store manager file (shown below) in order for discounts to export and show on reports correctly.