2-3 from the main menu
The merchandise file is where you store all of your merchandise items. Upon entering the merchandise file maintenance program you will be presented with a list screen. This screen shows the Manufacturer, Alternate Description, Part #, Quantity on Hand (based on the store selection in the upper left hand corner of the screen), retail price, SKU, and UPC code.
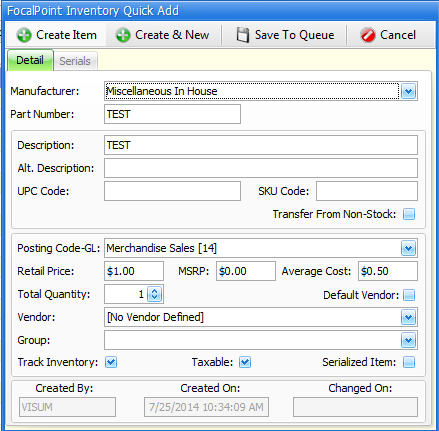
There are two ways to add new merchandise to the merchandise file. You can click on the Add Item button then be presented with a screen of all of the fields in the merchandise record that you can fill in as needed. Or, you can click on the Quick Add button to be presented with an abbreviated screen of only the most important fields of a merchandise record. Instructions for both methods are below.
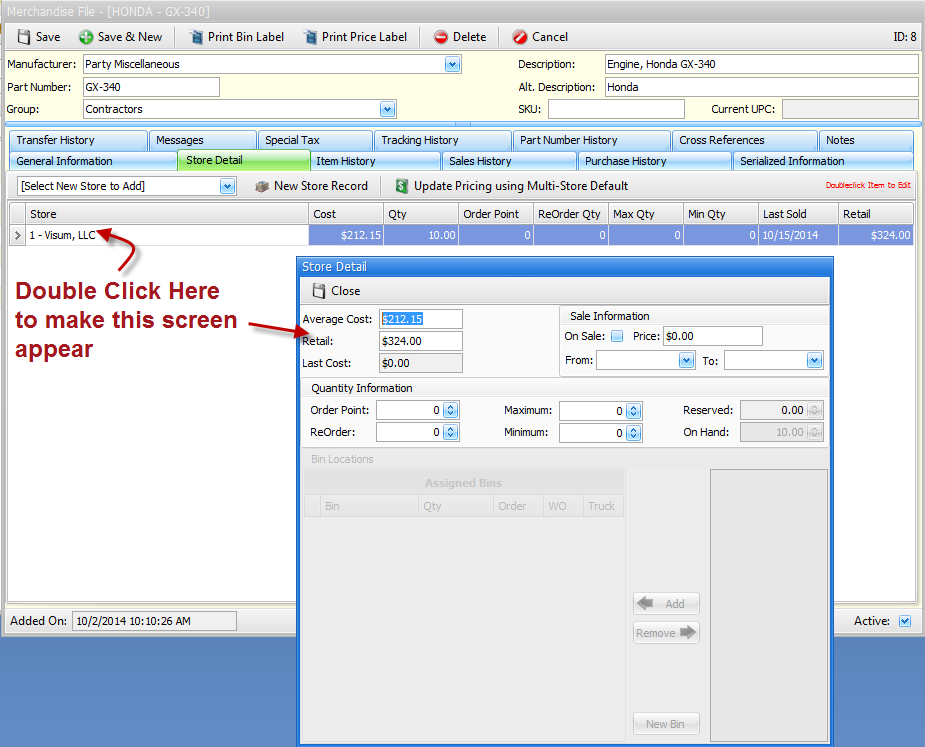
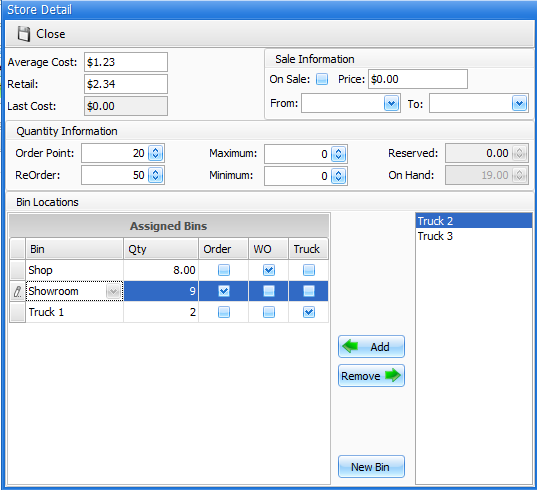
A merchandise item consists of a general record and one or more detail records for each store that carries the merchandise item. The general section sets all variables for a merchandise item that are 'global' in nature, like manufacturer, part number, and group. The merchandise detail section is where you can set fields for cost, retail price, and quantity on hand.
In a multi-store environment, if you intend to sell merchandise that you do not normally stock in your store, you should set up the item in your store anyway, and set the quantity to 0. When selling these items, either transfer the necessary inventory to your store prior to creating the contract or invoice, or overbook the item and transfer the inventory afterward. If you do not set up merchandise that is not commonly stocked, the act of transferring merchandise to your store from another store will automatically create a store record for you. You cannot sell merchandise out of a store that you are not located in.
The Merchandise List Screen
You can use this screen to edit a merchandise item by double clicking on the item. You can also add merchandise from this screen or export a list of merchandise items to Excel.
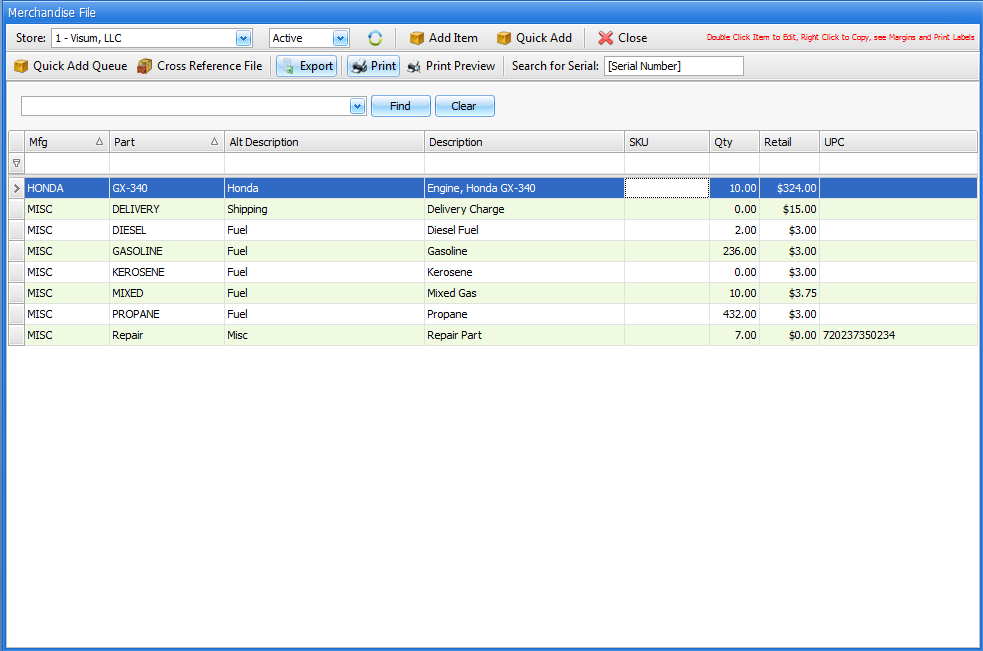
Different areas of this list screen are:
Store
You can choose to display all merchandise or only those that "belong to" a certain store.
Active/De-Active/All
In the upper left corner, you may choose to see "active", "de-activated" or "all" records. If you choose "All", the far-right "Active" column in the list will be visible, otherwise this "Active" column will not be visible.
Add Item
Click on this button to add a new customer
Quick Add
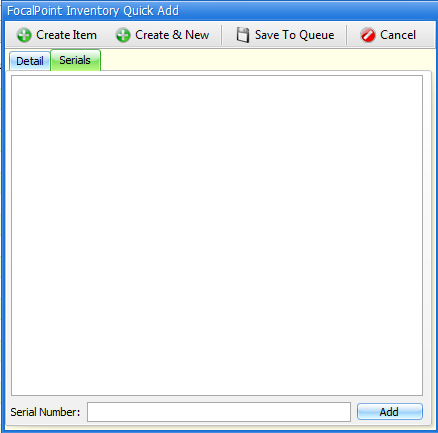
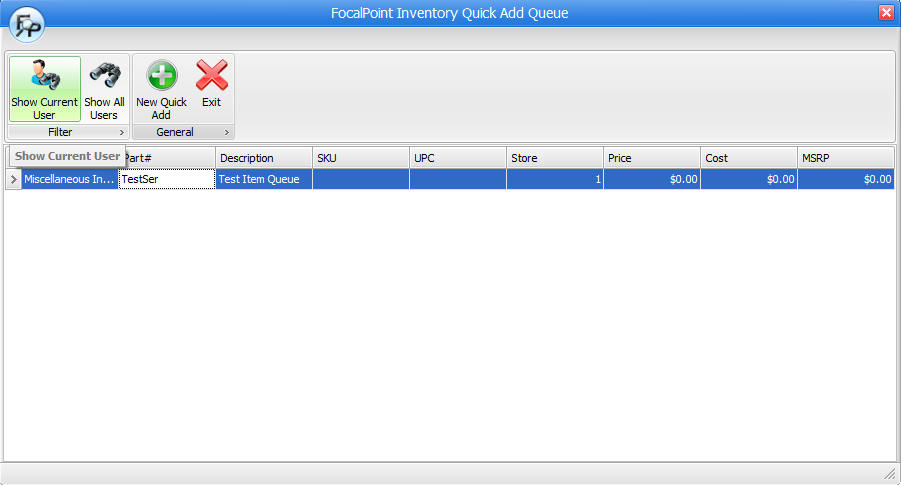
Use this function to add a merchandise item, but only fill in the most important fields. See below section for using Quick Add functionality.
Wild card search function
The field to the left of the Find and Clear buttons will search for any string of characters in any of the columns on the screen. It is an interactive search, meaning the results will be displayed as you type.
Column Search Fields
The blank field on top of each column can be used to search for results within the appropriate column. This search function looks for matches based on the start of the string of characters. For example, if you were searching for the word "smith", typing "smi" would help you find results, but "ith" would not
Column headings functions
•If you left click on a heading, the records in the column will sort ascending or descending (alternating with each left click)
•If you right click on a column, you will be presented with options to:
oSort Ascending
oSort Descending
oClear Sorting
oGroup By This Column
oShow Group By Box
oRemove This Column
oChoose Which Columns to Display
oBest Fit THIS Column
oBest Fit ALL Columns
oFilter Results in this Field using 13 methods (Equals, Does Not Equal, Greater Than, Less Than, etc.)
oHide the Auto Filter Row
•If you "hover" over the column heading, a tiny filter will show in the upper right corner of the column name, where you can then filter the column based on real time results of the column
Export
Click on this button to export the current list of records on the list screen to a screen that can generate an Excel spreadsheet.
Click on this button to print a list of records that resembles the current list screen. You will be prompted for a printer before the list prints.
Print Preview
Click on this button to preview a list of records that resembles the current list screen. From the preview screen you can print the list, email it, or create a PDF.
Editing Merchandise Items or Adding Merchandise Items using the conventional method
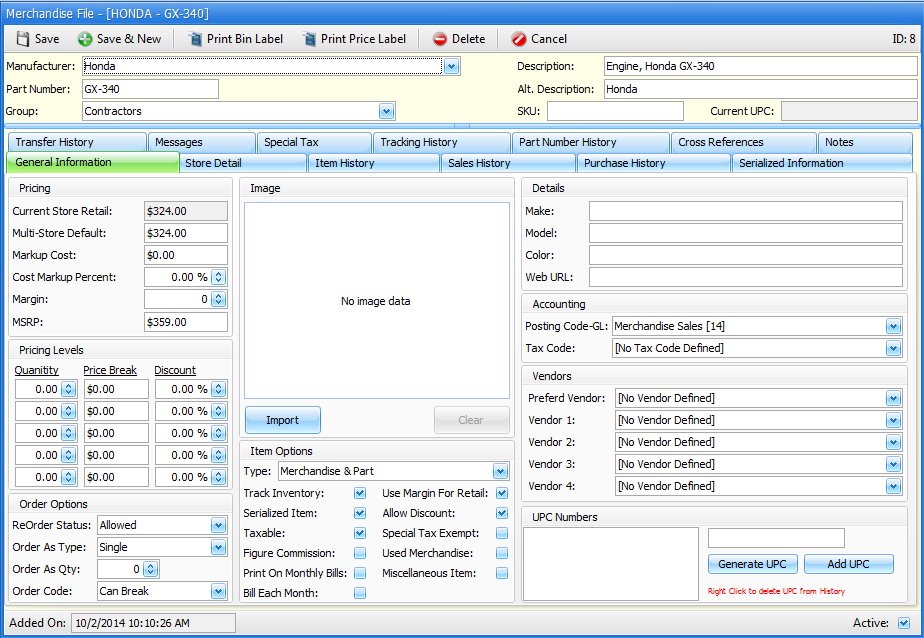
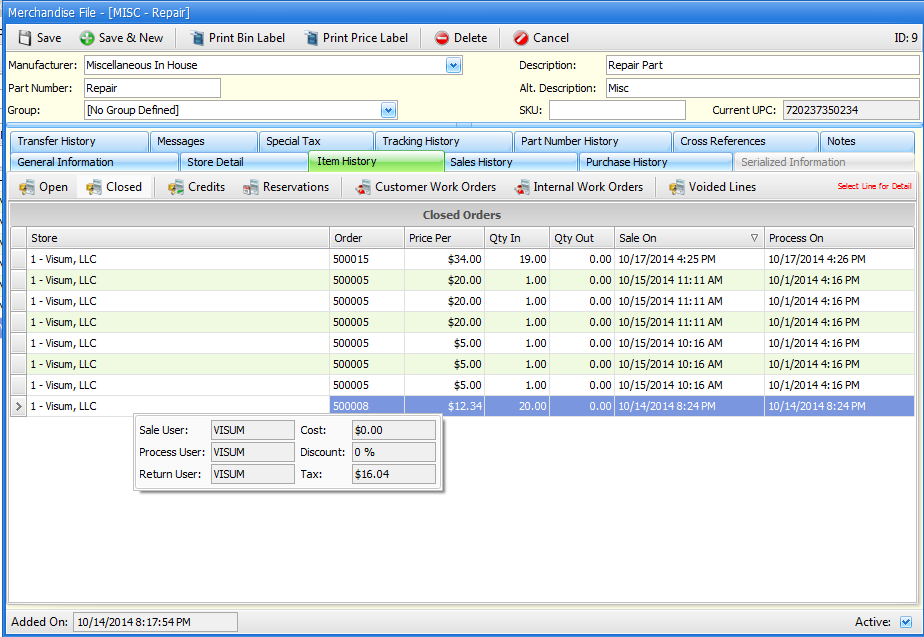
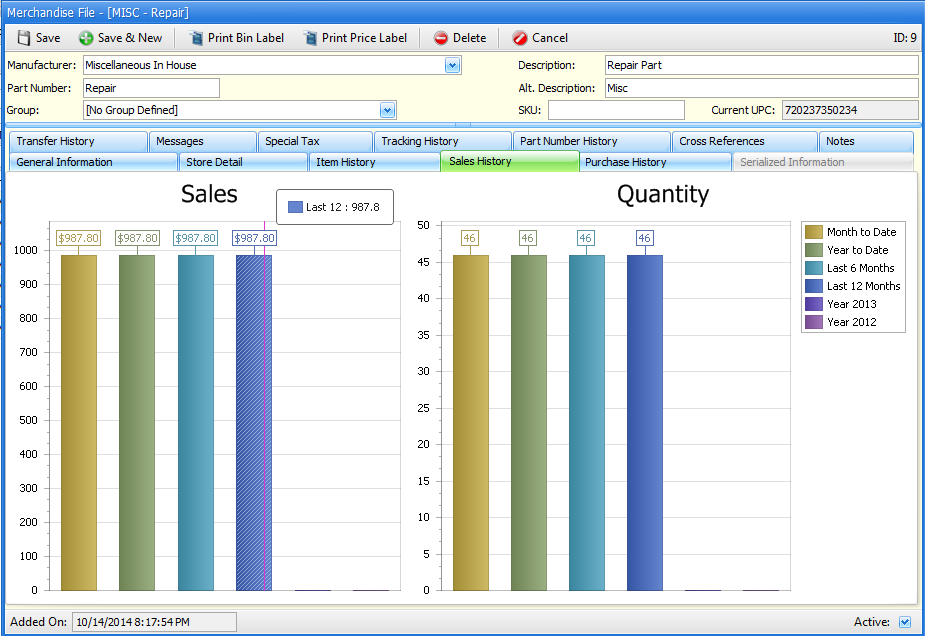
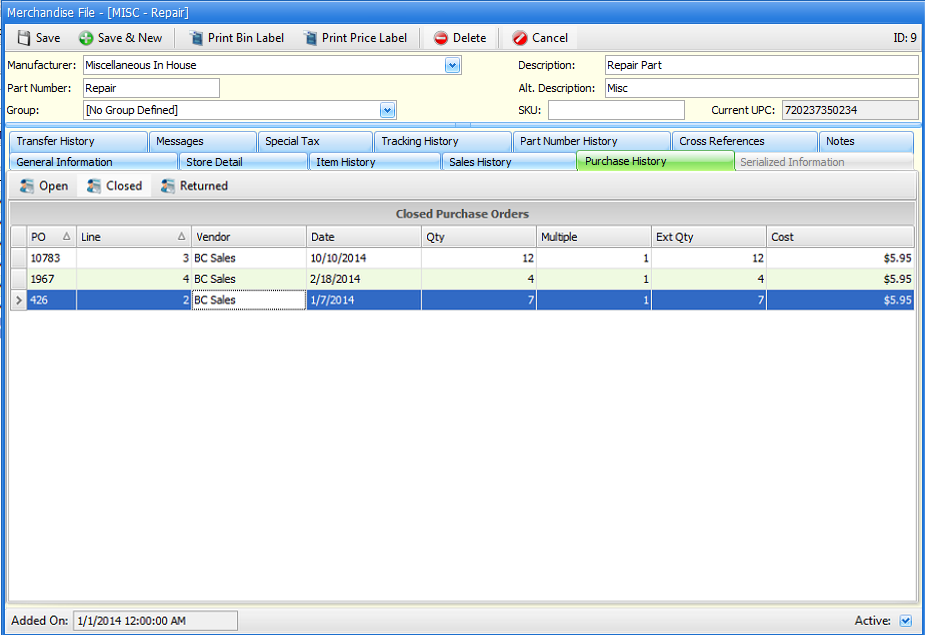
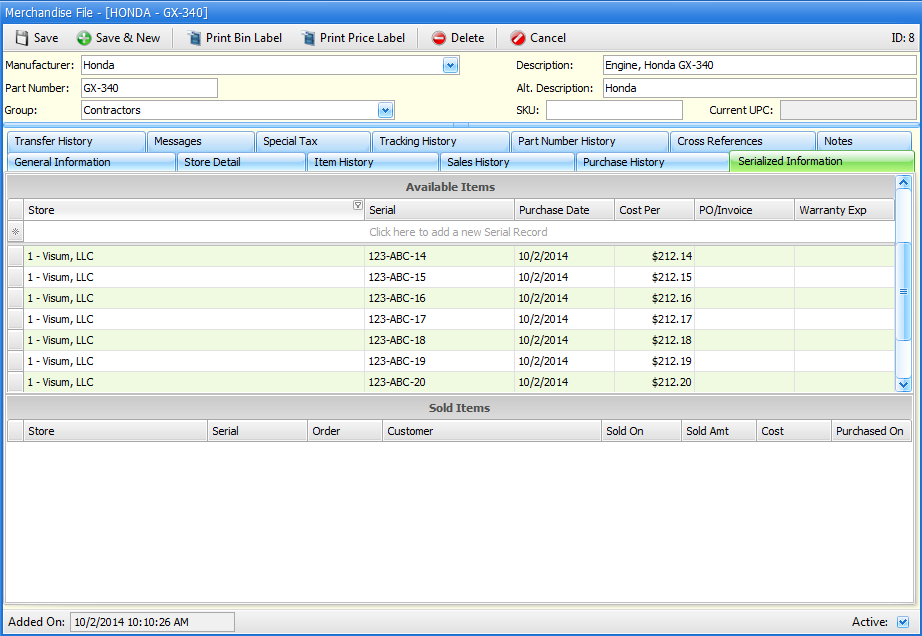
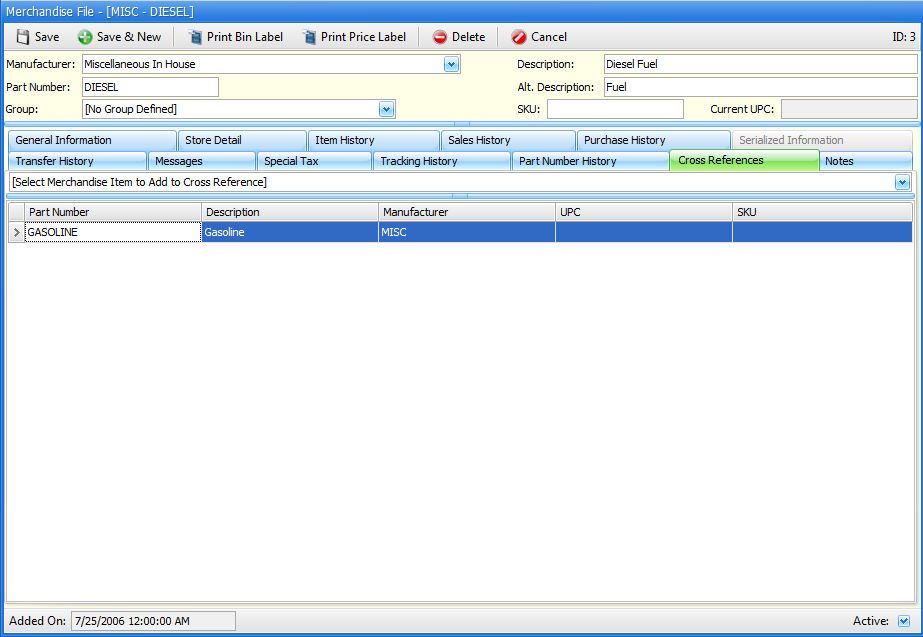
If you double click on an item from the list screen, or clicked on Add Item from the list screen, you will access the screens below. The merchandise record is broken into several sections, or "tabs", as defined below. This help file has a separate section for each "tab". You may expand any of the sections below (one section for each "tab") to view specific field information.
At the top of all of these screens you can see identifying fields for the merchandise item.

Save
Click here to save your record
Save & New
Click here to save your record and start adding a new record.
Print Bin Label
Click here to print a been label for the merchandise item you have open.
Print Price Label
Click here to print a price label for the merchandise item you have open.
Delete
Click here to delete a merchandise item that has never had any activity associated with it.
Manufacturer
Every merchandise item needs to have a manufacturer assigned to it. You can add manufacturers "on-the-fly" or in the manufacture file, 2-8 from the main menu.
Part Number
Each merchandise item is to have a part number assigned to it. Because of the unique ID in the upper right-hand corner of the screen, you may have identical part numbers in FocalPoint (although having identical manufacturer and part numbers in FocalPoint would be highly unrealistic).
Group
Select the appropriate group from the drop down list that this item belongs to. You can also add a new group from this field, or leave the group field blank (although assigning groups to merchandise item is highly recommended for reporting purposes).
Description / Alt Description
You may enter up to two descriptions for any merchandise item. Either of these descriptions will be searched when searching for merchandise by description. The primary description will show on printed documents.
SKU
If the item you're adding has a SKU assigned to it, you may enter here.
Current UPC
This field will represent the current UPC code of the item. You cannot add or change the UPC code from this field. To add or change a UPC code, you must do so in general tab in the lower right-hand corner.
All UPC codes must follow the Universal Product Code Standard as explained here: http://en.wikipedia.org/wiki/Universal_Product_Code. If your Vender does not adhere to this standard or does not provide one, you can generate your own internal UPC by using the Generate UPC button within FocalPoint to be used and it will not conflict with an actual product UPC that has been registered with The Global Language of Business. These standards are in place to confirm proper barcode printing within the size restrictions of Price and Bin labels along with increase the reliability of reading UPC codes and preventing duplicate UPC codes being used by multiple vendors.
Active
With this flag checked, this item will be available for sale. Otherwise, this item will not appear on any search screens, nor will you be able to put it on a contract or sales invoice.

