Specification Sheets and Custom Attachments

Contents
Specification Sheets
FocalPoint has the ability to save instructions and information sheets related to specific items on a contract, and print these sheets after a contract has printed. This document explains how to “attach” the information sheets to rental items. After one or more sheets have been attached to a rental item, by default, the sheets will print immediately after a contract prints. The information sheets must be saved in a jpg format.

Saving Images from you scanner
1.Scan in one or more sheets using a scanner that is either attached to your network, or using a scanner where the scanned images can otherwise be easily transferred to your server. Because of the wide variety of scanners and scanning software available, the method in which you choose which format to save the image may vary widely. However, all scanners should be able to save images in a jpg format.
2.You will need to save these jpg's in the FocalPt\Images\SS folder on your FocalPoint "server".
3.If you have several sheets that you want to have print after the contract, you will need to save the first sheet as the name you wish to identify it as in the rental file, and the subsequent files with the same name AND a letter after it. Scan them individually, and save them as follows:
otents.jpg
otentsa.jpg
otentsb.jpg
otentsc.jpg
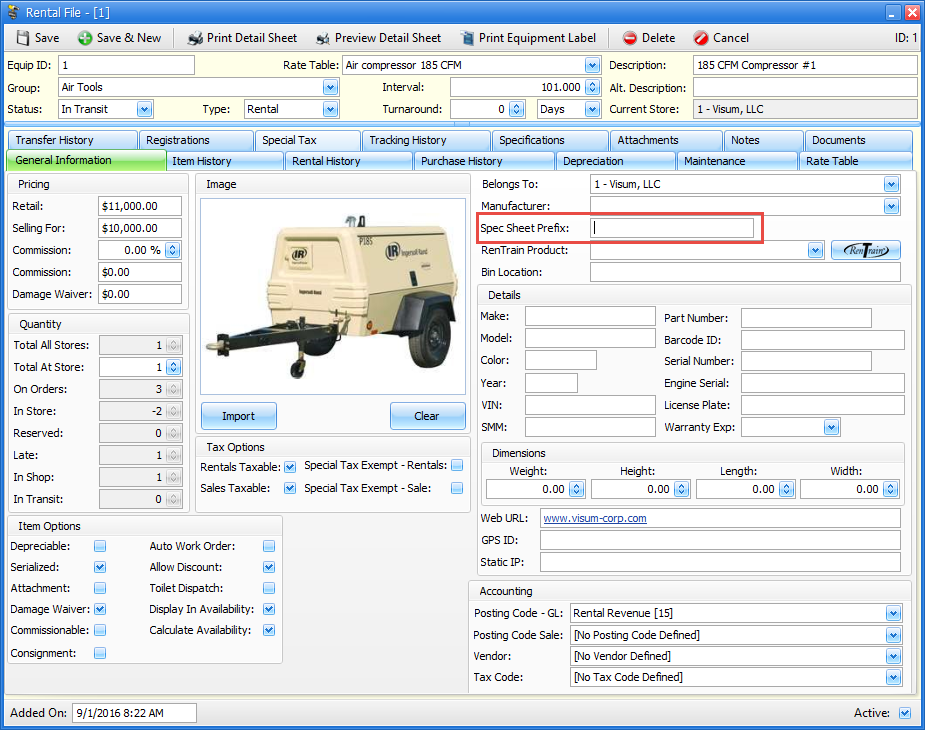
4.Open the rental item you want this scanned image assigned to. For Rental, select 2-2 from the main menu.
5.Once you have the Rental master record open, In the Spec Sheet Prefix field, enter the name of the scanned image without the suffix. For example, if you scanned an image named “tents.jpg”, you would simply enter “tents” in this field. If you have several pages that you want to print successively, and you have scanned and saved these sheets one-at-a-time, you need only enter the name of the first scanned image.
6.Once you have entered the name of the scanned image in the Spec Sheet Location field, save the rental item.
Whenever this item is included on a reservation or a contract, the sheet or sheets will print out immediately after the contract. Also, from the main menu, B-8-3 “Safety Sheet Printing” will allow you to print out safety sheets for any rental item.
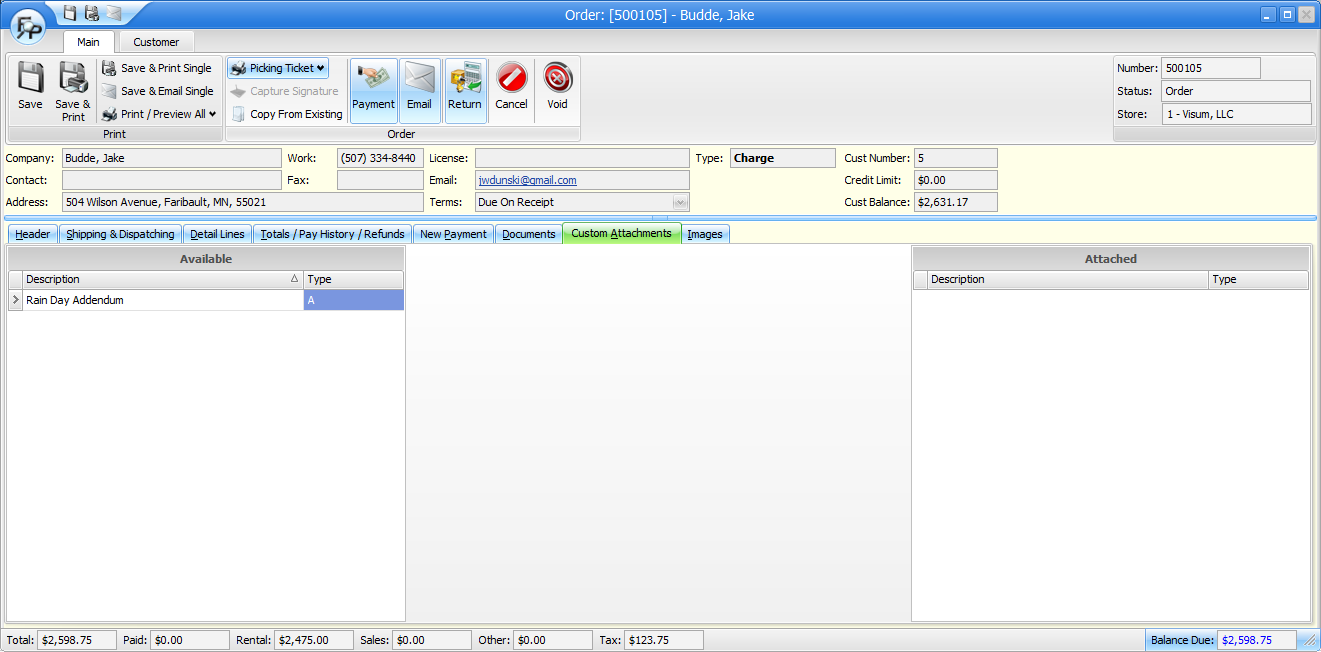
Custom Attachments
A feature has been added to FocalPoint to allow you to print attachments (addendums) from an order screen. To set up attachments, go to Custom Attachment Setup (B-C-8 from the main menu). You may double click on existing attachments or add new attachments from this screen. Field definitions for this maintenance screen are as follows:
Description
A brief description of the attachment.
Active
With this checked, this attachment will be available for selection.
Include Customer Name
Check this checkbox if you would like the customer name of the order to print on the top of this document.
Include Order Number
Check this checkbox if you would like the order number of the order to print on the top of this document.
Include Event Name
Check this checkbox if you would like the event name of the order to print on the top of this document.
Print Store Information
Check this checkbox if you would like store information to print on the top of this document.
Print Logo
Check this checkbox if you would like your logo to print on the top of this document.
Ask to Print When
Specify when this attachment should be available for printing. Select from the following choices:
1.No Print
2.New Orders
3.Return Orders
4.Both New/Return
5.Edit Orders
6.All Orders
To enable this functionality, enable the “Ask For Attachments @ Printing checkbox in the store manager file (C-4 from the main menu), Setup 3 Tab.
Once this functionality is enabled, use the "Customer Attachments" tab in the order to select which attachments to include with the order.