Messages – Contract and Screen
2-9 from the main menu (for Groups)
2-A from the main menu (for Rate Tables)
2-B from the main menu (for Items)
2-E from the main menu (for Merchandise Items)
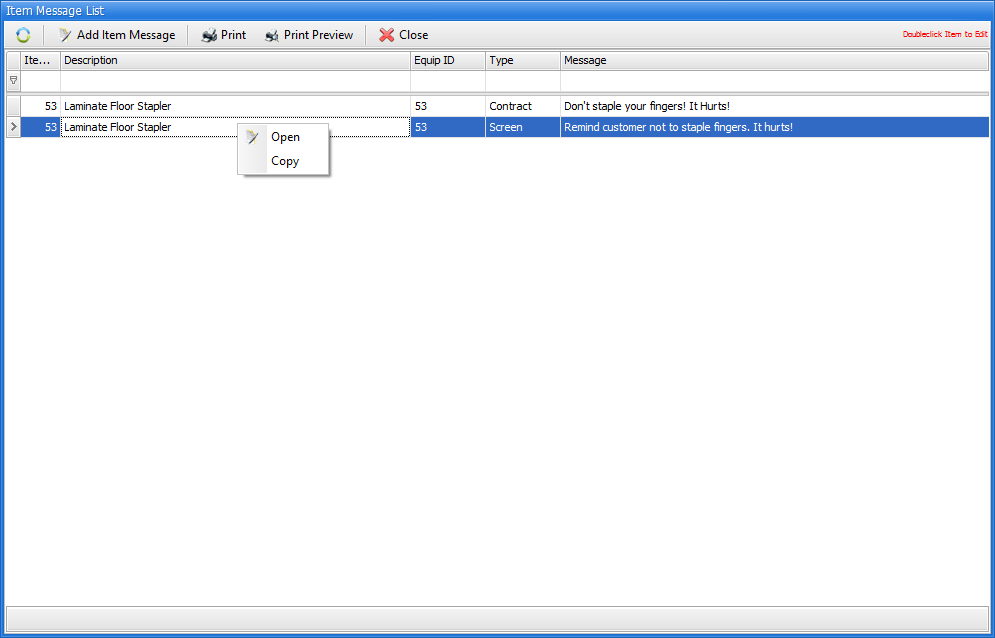
Contract and Screen Messages may be set up for groups of items, items belonging to specific rate tables, or for the individual rental items themselves. When you enter the any of the message functions, you will be presented with a list screen showing all of the item messages already set up. You may double click on an existing message to edit the message, or click on the Add New [Group/Rate Table/Item] Msg button to add a new message. You may also right-click on an existing message copy or open the message. Upon doing so, you will be taken to a secondary Item Message Lookup screen.

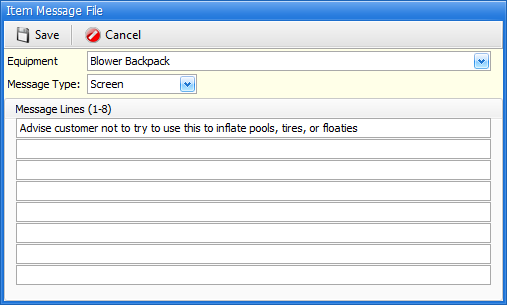
To add a new screen or print message, click on the Add [Group, Rate Table, or Item] Message button.

The field definitions below explain each field on this screen.
Group, Rate table, or Equipment
Search / Select the item for which this message should either display on screen or print on rental documents when the item is selected for rental.
Message Type
Use the drop down list to select (C)ontract (for messages that should print on contracts), (S)creen (for messages that should show on screen when the item is selected), or (V)oid to "de-activate" this message.
Message Lines
Enter up to 8 message lines that will print on the contract or show on screen.
Use the Print or Print Preview buttons to print or preview a list of all messages.
If you wish to save the message addition or change, click on the Save button on the top of the screen. To abort the message addition or change, click on the Cancel button.
