Fingerprint Reader

Contents
Setting up a Fingerprint Scanner for Use in FocalPoint
Please follow these steps once you have plugged in your U.are.U 4500 Fingerprint Reader and it has installed on your PC properly.
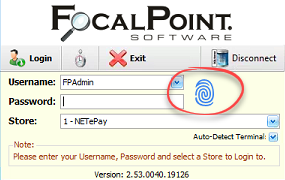
1.Open up FocalPoint. If your fingerprint scanner is installed on your PC properly, you will see a fingerprint image next to the Username and Password fields on the FocalPoint sign on screen.
2.Log in to FocalPoint.
3.Go to the user file, C-6 from the main menu.
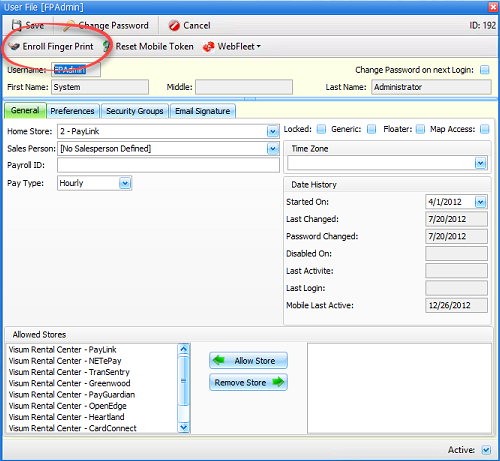
4.Double click on a user who would like to be able to log in using his/her fingerprint. For the remaining instructions, the assumption will be that “you” are the user enrolling in fingerprint scanning.
5.Click on “Enroll Finger Print” button at the top of the screen.
6.When the FingerPrint Enrollment screen appears, click on the first finger that you would like to use for their fingerprint recognition. You will need to do this for two fingers.
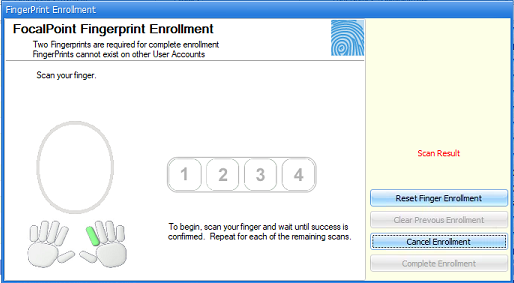
7.Follow the instructions on the screen, scanning the fingerprint until you have 4 successful scans.
8.Repeat with another finger. Note that every time you scan successfully, your fingerprint shows in the upper right corner of the Fingerprint Enrollment screen.
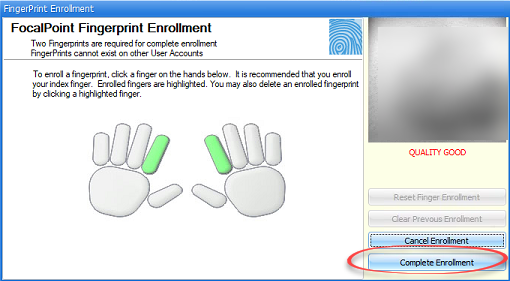
9.Once you have successfully completed the enrollment process (two different fingers, four successful scans for each finger), click on the “Complete Enrollment” button.
10.Save the User File, then log off of FocalPoint
11.At the FocalPoint log in screen, scan your fingerprint to log in.
(Note – if the fingerprint scanner accumulates grease or dirt, it may not scan consistently. Clean the fingerprint scanner using the same methods you would use to clean a pair of eyeglasses, or use adhesive tape to remove residue from the scanner)